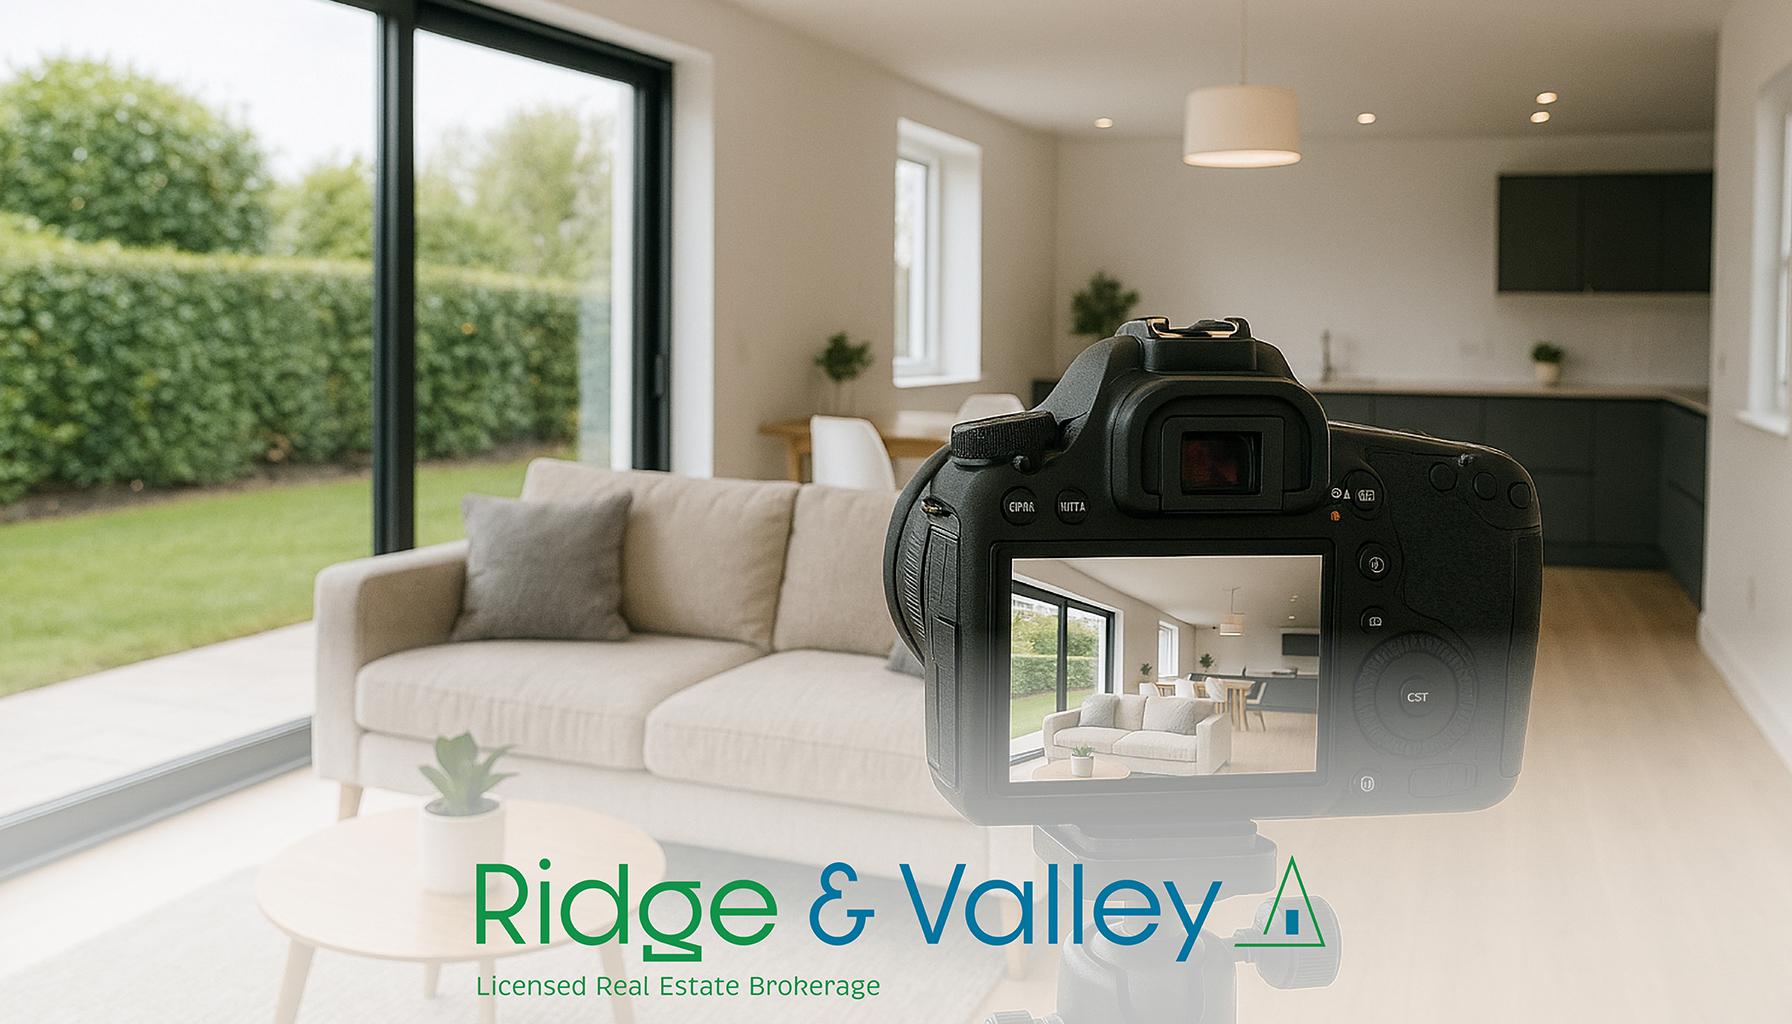
Professional-quality photos can make the difference between a listing that lingers, and one that generates a flurry of showings. Well-crafted real estate content is a form of storytelling – the goal is to help buyers emotionally connect with your home before they set foot inside. Visual media can highlight your home’s best features, evoke a sense of lifestyle, and ultimately inspire higher offers. By following the tips in this comprehensive guide, you’ll ensure your home is “picture perfect” when the photographer arrives, paving the way for a successful sale or rental.
The Power of First Impressions
You only get one chance at a first impression, and in real estate, that first impression is almost always visual. Studies have found that people form an opinion on a listing within fractions of a second of seeing a photo [Source: Institute for Behavioral and Experimental Real Estate at Old Dominion University]. It’s a split-second emotional reaction – a beautifully lit, well-composed photo can immediately grab buyers attention, whereas a dark or cluttered image can turn them off just as fast. In practical terms, being “photo-ready” isn’t just about aesthetics; it has real financial implications. High-quality real estate photos have a proven impact on buyer interest, listing views, and sale price. Consider a few data points from recent studies and industry research:
- More Buyer Eyes on Your Listing: Homes with professional photography get significantly more attention online. In one analysis, listings with high-quality images received up to 61% more page views than those with average photos. More views mean a larger pool of potential buyers is considering your property from the start. [Source: Get a Picture-Perfect Home Sale]
- Faster Sales: Compelling photos can help your home sell quicker. A Redfin study found that properties with professional, high-quality photos sold around 32% faster on average than those with low-quality images. In concrete terms, the professionally photographed homes spent about 89 days on market versus 123 days for others – a significant difference. Time is money in real estate, and reducing days on market can prevent price reductions and carrying costs. [Source: Redfin]
- Higher Sale Price Potential: There’s evidence that great visuals can boost perceived value. In a study of over 100,000 listings in the Boston metro area, listings with pro photos sold for $934 - $116,076 more than those shot will cell phones or point-and-shoot cameras. Even adjusting for home size and price range, the professionally photographed listings had a measurable price premium. At the very least, high-caliber photos help ensure you’re not leaving money on the table. [Source: NAR]
- Critical to Buyers’ Search: It’s not just agents saying photos matter – buyers themselves say so. According to research from the National Association of REALTORS®, 87%+ of buyers rank listing photos as the most useful feature in their home search. In fact, in one recent NAR survey, all homebuyers used the internet in their search and cited photos as the number one web feature they value. Separately, a Zillow study found that almost half of recent buyers deemed professional real estate photography “extremely important” to their home-buying experience. The message is clear: great photos aren’t optional – they’re essential. [Source: NAR, Zillow]
What do these numbers mean for you as a seller? In simple terms, preparing your home for top-notch photos is one of the most impactful steps you can take to attract buyers quickly and sell for a higher price.
Emotional Connection and Storytelling
A clean, beautifully staged room in a photo isn’t just appealing because it’s attractive – it also signals that the home is cared for, inviting, and ready for someone new to make memories there. Buyers subconsciously pick up on these signals.
By prepping your home for photography, you are setting the stage for a positive emotional narrative. Every room should invite the viewer to imagine their life unfolding there. As you implement the tips in the next section, keep this in mind: you’re not just cleaning and arranging objects, you’re crafting a story in which the buyer is the protagonist. And that story begins with breathtaking photos that draw them to tour the home, and eventually, write a compelling offer worthy of your acceptance.
Preparing Your Home for the Photographer
Now that you appreciate how critical great photos are, the next step is rolling up your sleeves and getting your property into prime condition for the camera. This preparation phase covers everything from deep cleaning and repairs to decluttering and staging. Remember, photography can be both flattering and unforgiving. Extra effort in advance will ensure that when the photographer (or videographer) arrives, every room is ready for its close-up.
Below is a comprehensive checklist of preparations. Tackle these items in the days leading up to the photoshoot (and ideally keep your home in this condition for showings). These steps align with what professionals refer to as making a home “market-ready” – a standard that ensures your property will photograph beautifully and impress buyers in person.
· Repair and Touch Up
- Finish Minor Repairs: Attend to any visible damage or wear that could stand out in photos. This includes patching up nail holes or chipped paint on walls, tightening loose cabinet handles, fixing that leaky faucet, and ensuring doors open smoothly (no dangling knobs or misaligned closet doors). Small flaws can become eye-catching distractions in high-resolution images. A quick repair of a cracked switch plate or a scuff on the baseboard can make a room look newer and better maintained in photos.
- Paint and Patch: If you have bold or dark accent walls that might not appeal broadly, consider applying a fresh coat of neutral-colored paint before the shoot. Neutral, light colors tend to photograph well and make spaces feel larger and brighter. Touch up any scuffed or dirty paint – for example, a quick patch and paint over that chipped corner or a refresh of trim can subtly elevate the scene. Prioritize repairs that will appear in photos or video – a buyer can’t look past a cosmetic issue if it’s front and center in the listing pictures.
· Deep Clean
A thorough deep clean is fundamental. Consider hiring professional cleaners for a one-time deep clean if it’s in your budget.
- Floors: Vacuum carpets and rugs (and have them professionally cleaned if there are stains). Mop hard floors. Steam-clean tile grout if needed.
- Surfaces and Fixtures: Thoroughly dust, from shelves and tables to ceiling fan blades and window sills. Pay special attention to reflective surfaces: wipe down mirrors, glass doors, and windows to be streak-free. Smudges or dust on a mirror can distract from an otherwise perfect bathroom shot. Polish metal fixtures (faucets, handles). Remove cobwebs (often hiding in ceiling corners or light fixtures).
- Kitchen and Bath Scrubbing: Clear and scrub the kitchen counters, stovetop, and sink until they sparkle. Hide sponges, soap bottles, dish racks – nothing should clutter the sink area. In bathrooms, thoroughly clean the tub, shower, toilet, and vanity. Remove grime in the shower tiles and toothpaste residue in the sink. Glass shower doors should be transparent and spot free. Make chrome and faucets shine.
- Windows & Screens: Clean windows inside and out if possible. Natural light elevates photos, and you want every window to let in maximum sunshine without dirt or water spots in the way.
- Odor Control: While a photo can’t convey smell, the freshness of a home often comes across in subtle visual cues. So as part of your deep clean, eliminate sources of odor (dispose of garbage, remove litter boxes & pet toys).
· Declutter and Depersonalize
In photographs, less is more: clear, open spaces appear larger, tidier, and more attractive. Now is the time to channel your inner minimalist:
- Remove Personal Items: Take down family photos, children’s artwork, collectible displays, and any items with personal information. Not only can these be distracting, but you’ll also protect your privacy.
- Clear Surfaces: Go through each room and clear countertops, tables, dressers, and shelves as much as possible. Aim to keep only a few tasteful decor pieces. For instance, in the kitchen remove all small appliances, knife blocks, spice racks, and clutter from the counters. Perhaps leave one stylish bowl of fruit or a single coffee maker if it’s an attractive modern design, but nothing else. In bathrooms, hide all toiletries – no toothbrushes, soaps, cosmetics, or medicine bottles on display.
- Declutter Rooms and Furniture: Examine each space for items that can be removed or stored. This includes excess furniture that makes a room feel crowded – if a living room has too many chairs, or an oversized coffee table, put those pieces in storage for the photo shoot. Open floor space makes rooms feel larger. Similarly, clear out any stacks of magazines, toys, pet paraphernalia, or general clutter in corners.
- Depersonalize Decor: Beyond removing personal photos, consider editing any decor that’s taste-specific or dated. For example, a bold patterned wallpaper or a neon-colored wall art might not photograph well (and could date the image). If removing or changing it isn’t feasible, at least ensure the surrounding area is neutral and tidy to minimize its impact. Take down seasonal decorations that could timestamp your photos (e.g. holiday decorations, which instantly signal that the photos were taken months ago).
· Staging and Arranging for the Camera
With the deep cleaning done and the clutter gone, you can consider arranging the home to look inviting and photogenic. You don’t necessarily need a professional stager; with a bit of strategy you can optimize your own furniture layout and decor. Here are key staging tips:
- Furniture Layout: Arrange furniture in a way that maximizes the sense of space and emphasizes a natural flow. In photos, we want to see the open pathway through a room and the ample floor space. Pull furniture a few inches away from walls (this creates depth). Remove any pieces that block entryways or cut off sightlines.
- Balance and Accents: With most knick-knacks gone, add a few strategic decorative accents to avoid a sterile look. Think of what a high-end builder’s model home looks like: throw pillows neatly arranged, a single vase or fresh flowers on a table, maybe a stack of coffee table books or a bowl of lemons on the kitchen island. These touches add warmth and color without cluttering the scene. Stick to a cohesive style or color scheme if you can, so there’s a harmonious look throughout the photo set.
- Beds and Baths “Magazine Ready”: Give bedrooms and bathrooms extra attention in staging:
- Bedrooms: Make every bed with crisp, unwrinkled linens and nicely coordinated bedding. Solid or subtly patterned bedspreads in neutral or tasteful colors work great (loud patterns can be jarring in photos). Fluff pillows and consider a throw blanket folded at the foot of the bed for a cozy touch. Absolutely no clothes or clutter visible – nightstands should have at most a lamp and maybe one décor item (like a small vase or an alarm clock).
- Bathrooms: Hang fresh, neatly folded towels (preferably in a neutral or coordinated color) on the racks. Ensure toilet lids are down in every bathroom. Remove bath mats and fuzzy toilet lid covers for the photos; they often make the space look smaller and cluttered (bare floors actually photograph better and can be edited more easily by photographers if needed). You can place a new soap dispenser or a small plant or candle for a spa-like touch, but nothing else should be on counters.
- Lighting and Ambiance: Check all your lighting before the shoot. As part of staging, however, consider the ambiance: use lightbulbs of the same color temperature so the light looks even (all warm white or all cool white, not mixed). If a room lacks lamps, bring one in to create a cozy corner. Table and floor lamps can also be nice props in photos, adding depth and points of interest (plus they help brighten the space).
· Curb Appeal
We’ve stressed interior prep, but you should also fine-tune the exterior since the first photo in your listing is often the front of the house.
- Landscaping: Mow, trim, and tidy the yard.
- Hide outdoor clutter: Roll up and store away garden hoses, put away lawn tools, and make sure no kids’ toys or random items are strewn about the yard. If you have garbage or recycling bins outside, move them into the garage or out of sight around the side of the house.
- Set up outdoor furniture neatly: Fluff the outdoor cushions, open the patio umbrella if you have one (assuming weather is calm). Remove protective covers from grills or patio sets. In warm months, consider adding a pot of flowers or a tasteful wreath on the door for a touch of color. In colder months, ensure walkways are shoveled and use a broom to dust snow off shrubs for a cleaner look.
Pre-Photo Walk Though
Before the photographer arrives, do a final walkthrough of the home:
- Ensure all the previously mentioned staging points are in place (toilet lids down, no clutter on counters, beds perfect, etc.).
- Take out all trash (no trash cans overflowing – in fact, hide the trash cans entirely if you haven’t already). You don’t want a kitchen shot ruined by a waste bin in the corner.
- Hide everyday items that might have crept back into use – e.g., that dish soap by the sink or the kids’ cereal box on the counter from breakfast. Stow them away again.
- Double-check reflections: look in mirrors, television screens, even glass shower doors – make sure you (or the photographer) won’t appear in any reflection. Also hide any items that might be reflected.
- For kitchens and baths, clear sinks of any items or dishes and wipe the basin dry.
- Turn on all the lights and turn off ceiling fans.
- If it’s fall or winter, quickly sweep the front porch and walkway of any leaves or snow right before shooting the exterior. In any season, ensure that the yard and driveway is clear of debris.
- Remove all vehicles from the driveway and front of your house.
No People, No Pets, No Distractions
The cardinal rule of real estate photos: there should be no humans or pets in any shot. This includes you, your family, the neighbors, and the photographer themselves. Coordinate so that during the shoot, everyone is out of the house or at least staying well out of the camera’s view. In fact, the best practice (and what we recommend) is vacating the property entirely while the photographer works. The photographer may need to move room to room quickly and capture wide angles – even if you’re trying to “stay out of the way,” you might inadvertently end up in a reflection or slow down the process. An empty house lets the photographer focus and work efficiently, and it guarantees buyers viewing the photos see only the house, not the people currently living in it.
By the end of the shoot day, your home will likely never have looked better – bright lights, everything in its place, and not a speck of dust. The payoff will be a portfolio of beautiful listing photos that show your property in its very best light.
Final Thoughts
Presentation is paramount! By making your home photo-ready, you’re not just cleaning or decorating – you’re creating an experience and a story that invites buyers in from the moment they see your listing online. As we’ve shown, it’s an effort that pays off. There’s a proven correlation between strong visuals and real estate success: from faster sales to better sale prices, the investment of time in preparation is one of the smartest moves you can make as a seller.
At Ridge & Valley Real Estate, we understand the incredible impact that picture-perfect presentation has on your sale. We’re here to be your partner in this process, offering expert guidance on everything from pre-shoot checklists to marketing strategies once those gorgeous photos are in hand.
Happy home selling from the team at Ridge & Valley Real Estate!
Disclaimer:
This article is for general informational purposes only and does not constitute legal, tax, investment, or financial advice. Real estate markets and regulations vary by location, and every person’s financial situation is unique. Consult with a real estate attorney, licensed financial advisor, or CPA before making major housing or financing decisions. While we strive to ensure the accuracy of the data herein, market conditions and regulations can change, and any figures, links, or statistics cited may be subject to updates.