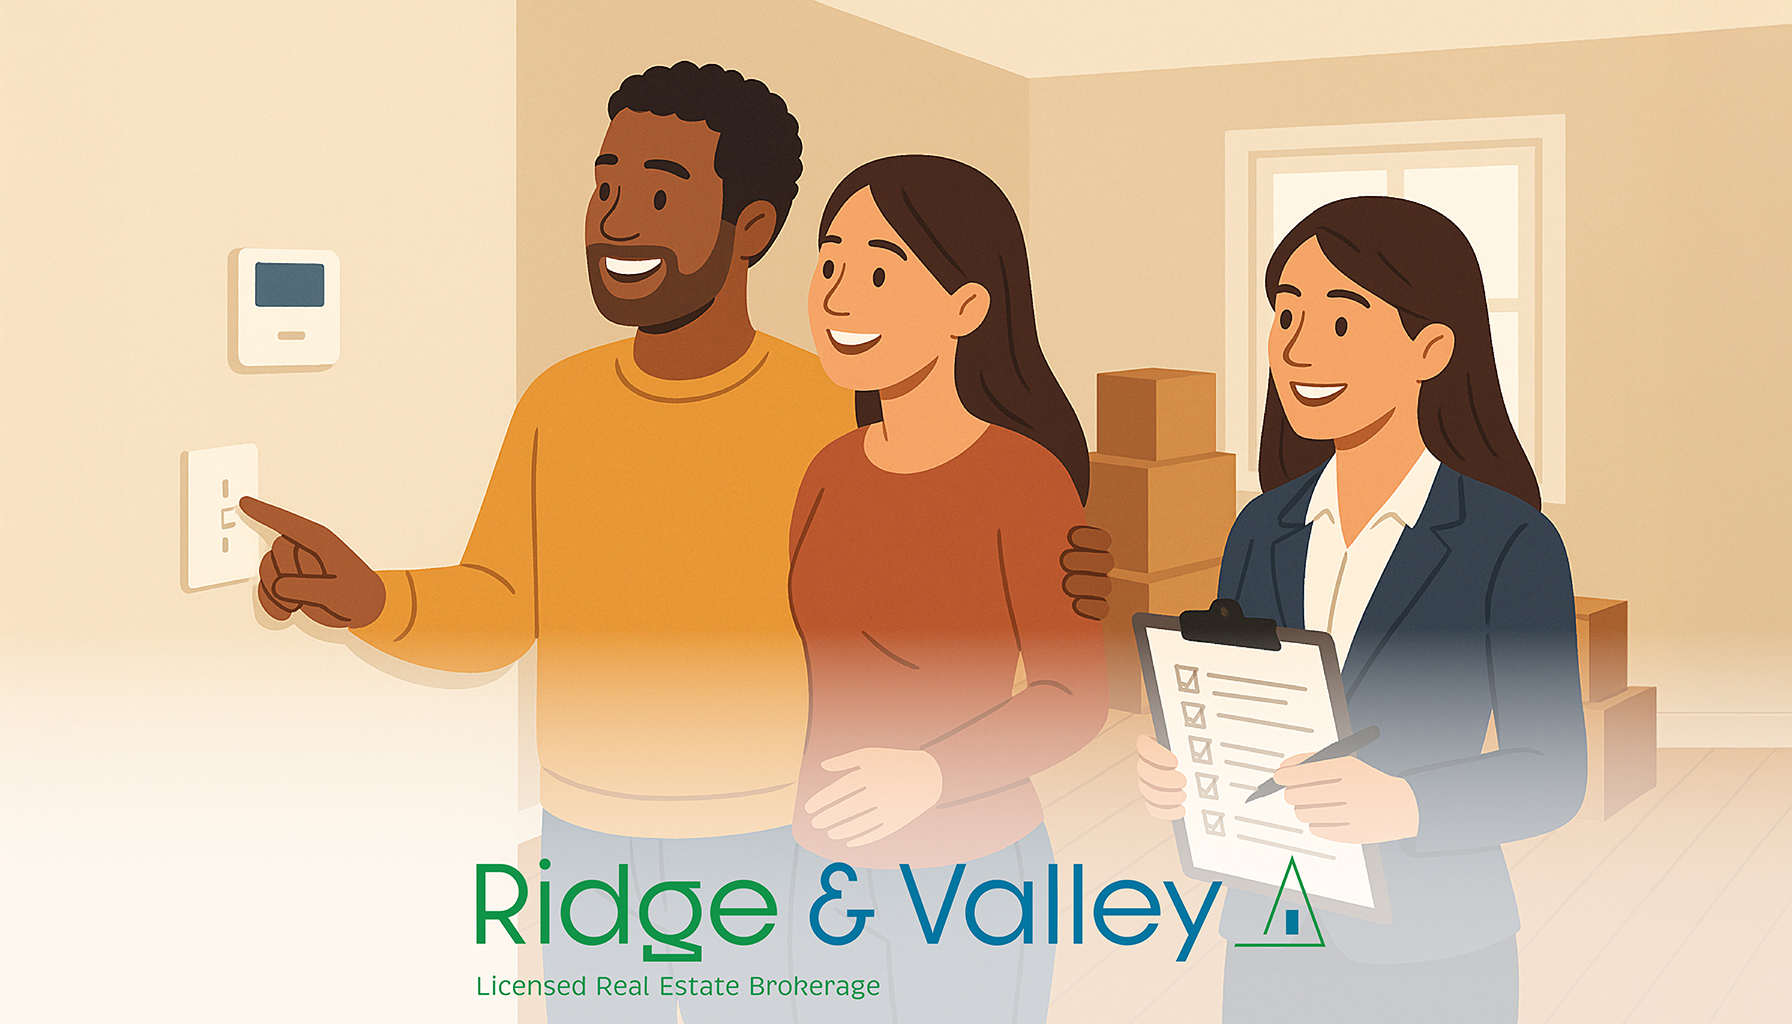
The final walkthrough is the last critical checkpoint before title is transferred at the closing table. This in-depth guide breaks down what buyers should inspect and what sellers must do to prepare. We’ll also explore what to do if last-minute issues emerge.
Final Walkthrough Basics
A final walkthrough is a last review of the home by the buyer shortly before closing. The primary purpose is to verify that the property’s condition has not changed since the purchase agreement and that any repairs or other contractual commitments have been satisfied. In practice, this means checking that no new damage has occurred, all agreed-upon repairs have been completed, and all fixtures or personal property that were supposed to remain are in place and in working order.
Importantly, the walkthrough is not a second home inspection. It is not an opportunity for a buyer to reopen negotiations or flag defects that were visible—or discoverable—during the original inspection contingency period. Pre-existing issues that were accepted (or overlooked) at that earlier stage cannot be resurrected now unless the contract expressly allows it. The focus should remain on confirming that the home is in substantially the same condition as when the contract was signed and that any promised work has been completed to a satisfactory standard.
In both New York and New Jersey, the final walkthrough typically takes place as close to the closing date as possible – often the day before or even the morning of closing. The goal is to minimize the time between this inspection and the actual signing, so that the home’s condition on walkthrough day is essentially the condition that you’ll receive it in after transfer.
While neither NY nor NJ law explicitly mandates a final walkthrough, standard real estate contracts in both states grant buyers the right to a pre-closing inspection. The New Jersey standard contract, for example, customarily includes a clause allowing a final walkthrough to ensure the property is in the “same condition as when last seen, reasonable wear and tear excepted,” and that any seller obligations (like repairs) are done. New York contracts similarly provide that the property must be delivered in substantially the same condition as of contract signing, and a walkthrough is the buyer’s opportunity to confirm this.
Buyer’s Final Walkthrough Checklist
From a buyer’s perspective, the final walkthrough is your last chance to ensure you’re getting the property in the condition you bargained for. Completing these small tasks will protect you from unpleasant surprises after you take possession.
Verify Repairs Completion: Confirm that all repairs the seller agreed to have been finished. For instance, if the inspection negotiation required a new water heater or roof fix, check those items specifically. Don’t just take the seller’s word – visually inspect each repaired item. If something isn’t repaired as promised, note it immediately.
No New Damage or Changes: Walk through every room (and the attic, basement, garage, and yard) to ensure no damage has occurred since your last visit. Common issues to watch for: gouges in walls or floors from the move-out, water damage from leaks, or broken windows. The home should look very much like it did when you went to contract, aside from empty rooms and any agreed repairs.
Check All Appliances & Systems: Test every appliance and major system that’s included in the sale for proper function. Some examples include:
- Run the dishwasher through a short cycle
- Turn on the oven and stovetop burners to ensure they heat up
- Open and run the microwave
- Run a rinse cycle on the washer and dryer if they came with the house
- Flip the thermostat to test the furnace and A/C
- Turn every light switch on and off
- Run all faucets (and flush all toilets) to ensure proper water flow, water temperature and drainage
Doors and Windows: Open and close every door and window. Make sure doors don’t stick or have hinge issues, and that keys or door codes work for every lock. Windows should open, shut, and lock properly. Check that screens and storm windows are intact or properly stored on site. Confirm that the garage door opens/closes smoothly and that the remote transmitters are available.
Fixtures and Inclusions: Confirm that all fixtures and personal property that should remain in the house are present. This includes things like lighting fixtures, built-in appliances, window treatments (curtains, blinds) if they were included, and any furniture or patio items specified in the contract. Ensure that any landscaping or outdoor features that are supposed to stay (like a shed, swing set, or planted shrubs) are there and undamaged.
Cleanliness and Debris: Look for any junk or possessions left behind by the seller. The home should be broom-clean, meaning swept or vacuumed with no piles of debris, personal belongings, or trash remaining.
Manuals, Keys, and Codes: Confirm that you receive (or will receive at closing) any keys, garage door remotes, access codes, and instruction manuals or warranty cards that the seller is supposed to convey.
Document Issues: If anything is amiss, document it with photos and notes. Communicate any problems to your real estate agent immediately, before the closing happens. Even relatively small issues (a missing light fixture, or a plumbing leak) should be raised now – this is your chance to get them resolved via the seller’s cooperation, a repair, or a credit. Most final walkthroughs go smoothly, but if you do encounter a serious issue, you’ll need a plan (we discuss options for issues later in this article).
Seller’s Final Walkthrough Checklist
From the seller’s perspective, preparing for the final walkthrough is about delivering on your promises and ensuring a smooth handoff of the home. The checklist below will help you avoid issues that may jeopardize your sale at the 11th hour:
Finish All Agreed Repairs: Complete every repair you committed to after the home inspection (or in the contract) and have proof of completion ready. Gather receipts, invoices, or warranties from contractors to show the buyer that, for example, the leaky roof was fixed by a licensed roofer, or the old oil tank was properly removed. Being able to document repairs not only builds goodwill but can protect you if there’s any dispute.
Keep Utilities On Until Closing: Do not shut off the electricity, gas, water, or HVAC prior to the walkthrough – the buyer needs them on to confirm that the home and its systems are functioning properly. Keep all utilities running through the day of closing (arrange for transfer to the buyer the day after closing).
A common seller mistake is scheduling utility cut-off for the morning of closing; if the buyer arrives to a powerless or unheated house, their walkthrough will be incomplete, and the closing may be delayed.
Thorough Cleaning (Broom Clean): Ensure the home is at least “broom-clean,” if not professionally cleaned, by the walkthrough. This means floors swept or vacuumed, counters and bathrooms wiped down, and no piles of dirt or trash. A filthy or cluttered home can sour the buyer’s mood and even violate contract terms.
Remove All Personal Items: Clear out the entire property of your belongings, unless they you have specifically negotiated for them to stay. Check every closet, cabinet, attic, shed, and drawer. The rule of thumb: if it’s not attached and the buyer didn’t specifically ask for it, it should be gone. If you intend to leave something (say, an extra fridge in the basement or patio furniture), make sure it was agreed upon – otherwise, remove it before the walkthrough.
Check Inclusions and Fixtures: Double-check that all fixtures and included items are in place and functional. For example, if you agreed to leave appliances or window treatments, make sure they’re present and working. Replace any burnt-out light bulbs (so the buyer isn’t greeted by a dark lamp and wonders if the fixture is broken). If you planned to swap a fixture (perhaps you wanted to keep a favorite chandelier), that swap should be done long before the walkthrough with the replacement installed, per your contract terms.
Smart Home Device Reset: If your home has smart devices (smart thermostats, video doorbells, smart locks, security cameras, etc.), reset them to factory settings or remove your accounts before the walkthrough. This way, the buyer can set up these devices under their own accounts after closing. Also, gather any smart hubs or accessories and leave them in a visible place.
Leave Keys, Remotes, and Codes: Prepare all keys and access devices for the buyer. This includes keys to every door, garage door openers, mailbox keys, and any fobs or entry cards. If you have alarm codes or gate codes, write them down for the buyer. It’s often helpful to put these in a labeled envelope or box. Many sellers leave this packet on the kitchen counter or hand it over at closing – but for the walkthrough, you should inform your agent where these items will be. Also include any appliance manuals or warranties you have, plus details like paint colors or spare tile locations if you think it’s helpful. These gestures make the transition smoother.
Be Available (but not intrusive): It’s not typical for a seller to attend the walkthrough, buyers prefer to inspect freely, but you should be reachable by phone in case something urgent comes up. Often, any small issues can be resolved with a quick communication or minor concession. Being responsive and cooperative on walkthrough day can ensure any bumps are smoothed out so closing can proceed.
If Issues Arise
Even with diligent preparation, a final walkthrough can reveal an unpleasant surprise—an unfinished repair, a broken appliance, or move-out damage. Stay calm: almost every problem has a fix that lets you close on time. The keys are quick communication, realistic expectations, and written agreements shepherded by agents and attorneys.
1. Minor hiccups—credit or quick repair
For simple low-cost issues, buyer and seller can negotiate on-the-spot credit at closing. A leaking toilet valve? A reasonable credit keeps everyone happy and avoids rescheduling. If there’s time, the seller may simply call a handyman before the closing appointment. The goal isn’t to nickel-and-dime; it’s to deliver what was promised without derailing the transaction. A small concession is usually cheaper for the seller than a postponement.
2. Bigger problems—use an escrow holdback
When something more substantial pops up—HVAC not cooling, a major plumbing leak is discovered—escrow is your friend. A pre-agreed sum from the seller’s proceeds is held by the title or closing attorney. If the issue is corrected within the stated window (five to ten days is common), the funds are released back to the seller; if not, the buyer taps the escrow to make the repair. Put the terms in writing, get lender approval when required, and you can still close on schedule.
3. Material changes—renegotiate terms
Sometimes the walkthrough exposes a bigger contractual miss: the movers cracked a custom window pane, or a promised roof repair never happened. The parties can lower the price, enlarge a credit, or postpone closing until the work is done. Any price or timing change must be captured in a signed amendment, drafted by counsel, so everyone knows who owes what and when.
4. Seller won’t budge—next steps
In rare circumstances a seller refuses to acknowledge the defect or lacks the cash to cure it. Buyers then must weigh accepting the flaw, delaying closing, or—worst-case—walking away. More commonly, the standoff triggers a brief delay while attorneys hammer out a compromise or set up an escrow. Total deal collapse at walkthrough stage is extremely uncommon.
5. Lean on the contract—and your attorney
Purchase agreements in New York and New Jersey spell out the seller’s duty to deliver the home in roughly the same condition, with all agreed-upon systems working and fixtures in place. If you’re the buyer, cite that clause and loop in your lawyer immediately. Sellers should likewise consult counsel before denying a request; ignoring the contract can put you in breach. Most walkthrough glitches—a missing window screen or leftover garage junk—resolve with a modest credit or same-day clean-up once everyone references the contract language.
Final Thoughts
The Final Walkthrough is Essential: This last inspection is the buyer’s chance to verify the home’s condition and that all contract obligations are met. Skipping it or rushing it could mean missing something costly.
Buyers – Inspect Everything: Come with a checklist and test all systems and fixtures: run appliances, flush toilets, test outlets, HVAC, and look for any new damage. Ensure agreed repairs are completed with evidence and that no agreed-upon item is missing. Don’t hesitate to take photos and immediately flag any issues – it’s easier to address them before you sign the papers.
Sellers – Prepare Thoroughly: Complete repairs, clean out the house, and have the home ready for turnover. Leave behind keys, remotes, manuals, and remove your personal accounts from smart devices. A smooth, problem-free walkthrough is likely to lead to a smooth closing (a warm welcome note for the buyer doesn’t hurt!).
Solutions for Last-Minute Problems: If the walkthrough uncovers an issue, buyers and sellers have options like credits at closing, escrow holdbacks, or repair agreements to resolve it without delaying closing. Most issues – even significant ones – can be negotiated.
Unexpected issues may still surface, even after meticulous preparation. When they do, pause, consult your real-estate professionals, and address the matter through clear communication and documented solutions. By approaching the final walkthrough as a collaborative verification rather than an adversarial exercise, both parties safeguard the transaction and uphold the contract’s intent. With details documented and resolved, both buyer and seller can proceed to the closing table with confidence.
Happy home buying & selling from the team at Ridge & Valley Real Estate!
Disclaimer:
This article is for general informational purposes only and does not constitute legal, tax, investment, or financial advice. Real estate markets and regulations vary by location, and every person’s financial situation is unique. Consult with a real estate attorney, licensed financial advisor, or CPA before making major housing or financing decisions. While we strive to ensure the accuracy of the data herein, market conditions and regulations can change, and any figures, links, or statistics cited may be subject to updates.